
Replacing the Idler Arm
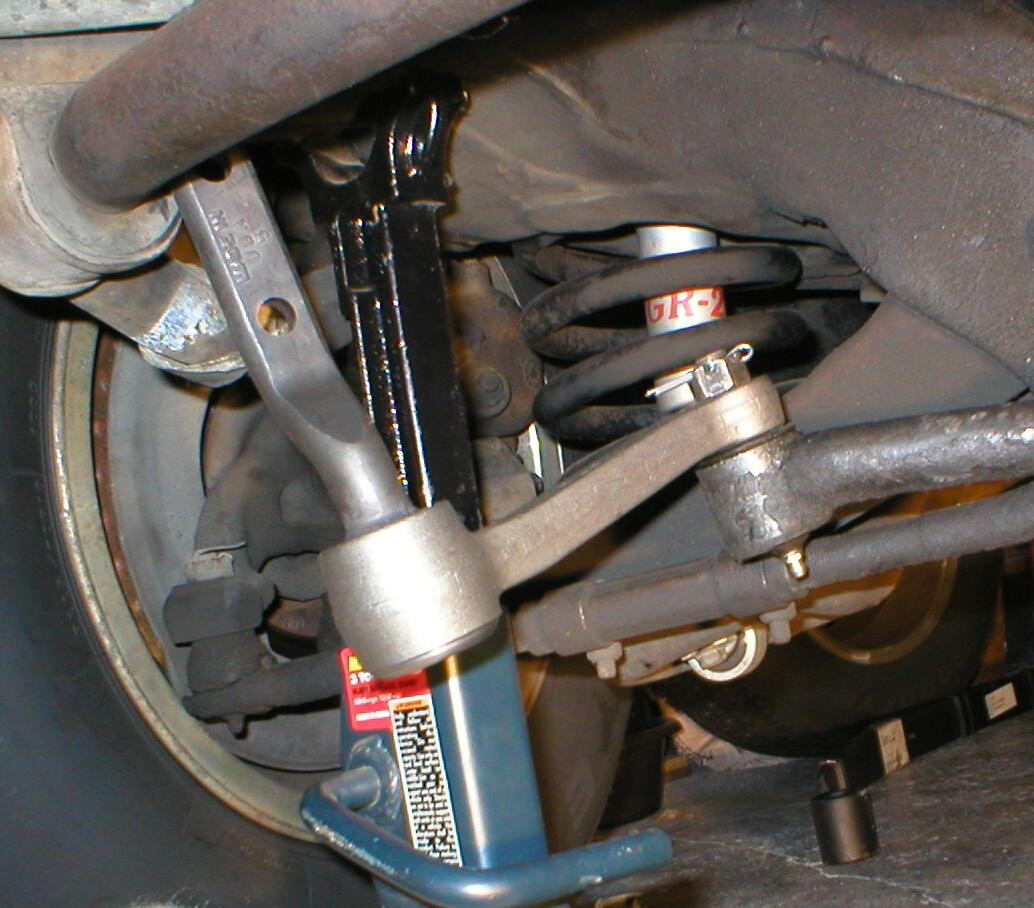
Replacing the idler arm was one of the easier projects that I have done to my Trans Am. I noticed that my steering had a little bit of play to it, especially around the turns. Also, when I got my new tires put on, the shop also said that my idler arm was worn and in need of replacement. There are a few simple steps involved in this and a little trick as well. There are really only 3 bolts that hold this in place so it is a pretty simple job. The first thing you need to do of course is jack the car up and place it on jack stands. Next, just to make life a little easier, you need to remove the lower radiator hose to get it out of the way. You can leave it on, but then it is a pain trying to get the bolts off. There are 2 bolts that hold the idler arm to the frame of the car. You need to remove these two bolts. You have to get at the back of the bolts through the other side of the frame through two openings with an extension ratchet. You can get at these pretty easy through the wheel well. All you need to do is turn the wheel slightly to the right to allow better access. Once you remove these two bolts, you need to remove the cotter pin that holds the nut in place and then remove the nut. Now, here is the little trick. In the manual, it tells you to use a pickle fork or pry bar to remove the idler arm from the rest of the steering..... DON'T DO THIS. If you do, you stand a good chance of screwing up the grease boot that is on there. All you need to do is get a hammer and give it a good whack on the end of the arm to release it from the steering linkage. The ends are tapered and there is nothing holding this on except for pressure. Once this is removed, you can then replace it with the new arm.
Simply put the new arm, tighten the nut back on which pulls the new arm back down onto the tapered link and install the new cotter pin back in place. Then replace the two bolts that attach it to the frame and that is all there is to it. After you have everything reassembled you need to make sure to grease the new arm so that it can function properly. After you complete this, I would recommend taking it to a professional shop and have them check the alignment again. It probably isn't off, but it doesn't hurt to check anyway.
